
Here are the operation steps on the MacBook Pro.
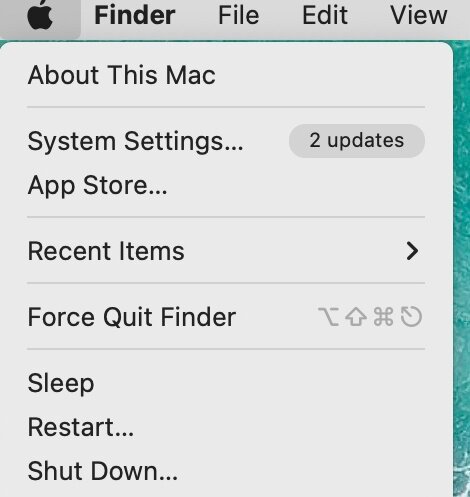
1. Click “Setting”. And you will see this page.
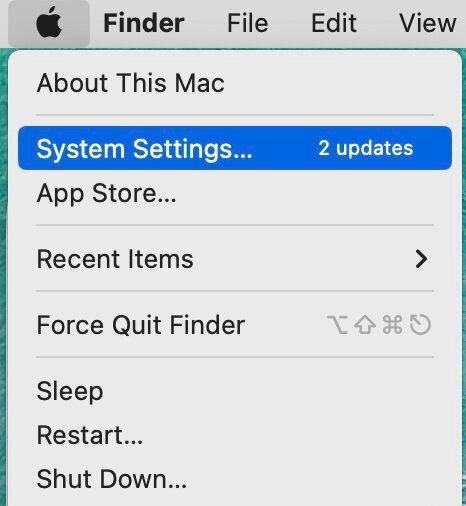
2. Click “System Settings”.
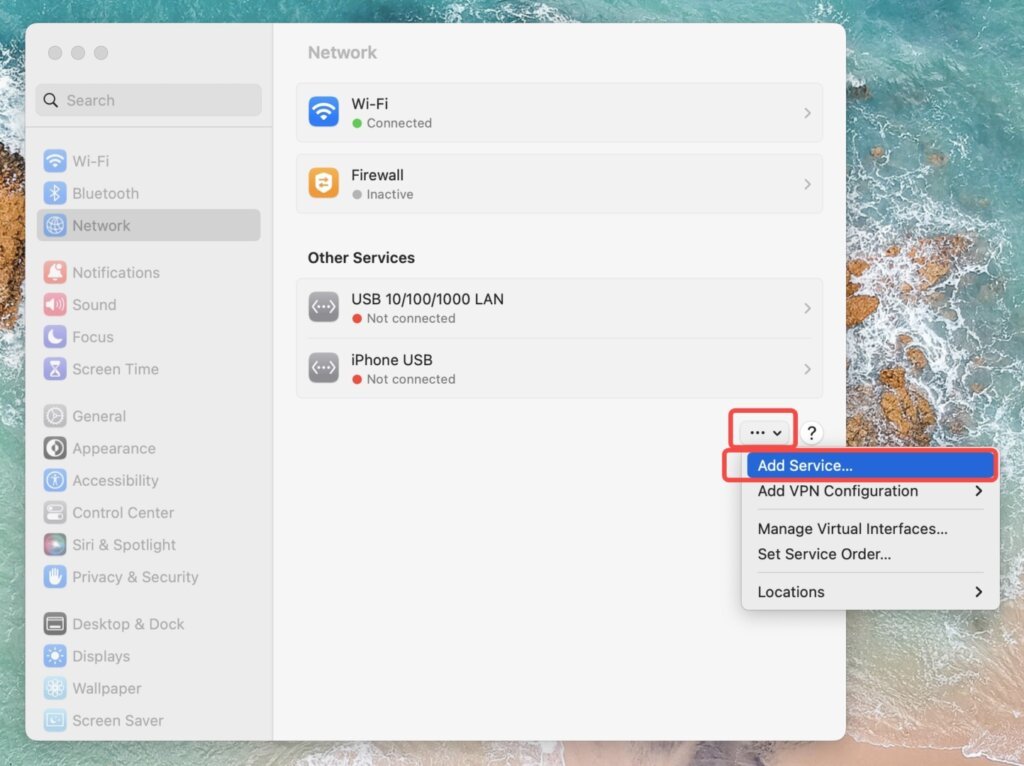
3. Click “Network”.

4. Click “Add Service”.
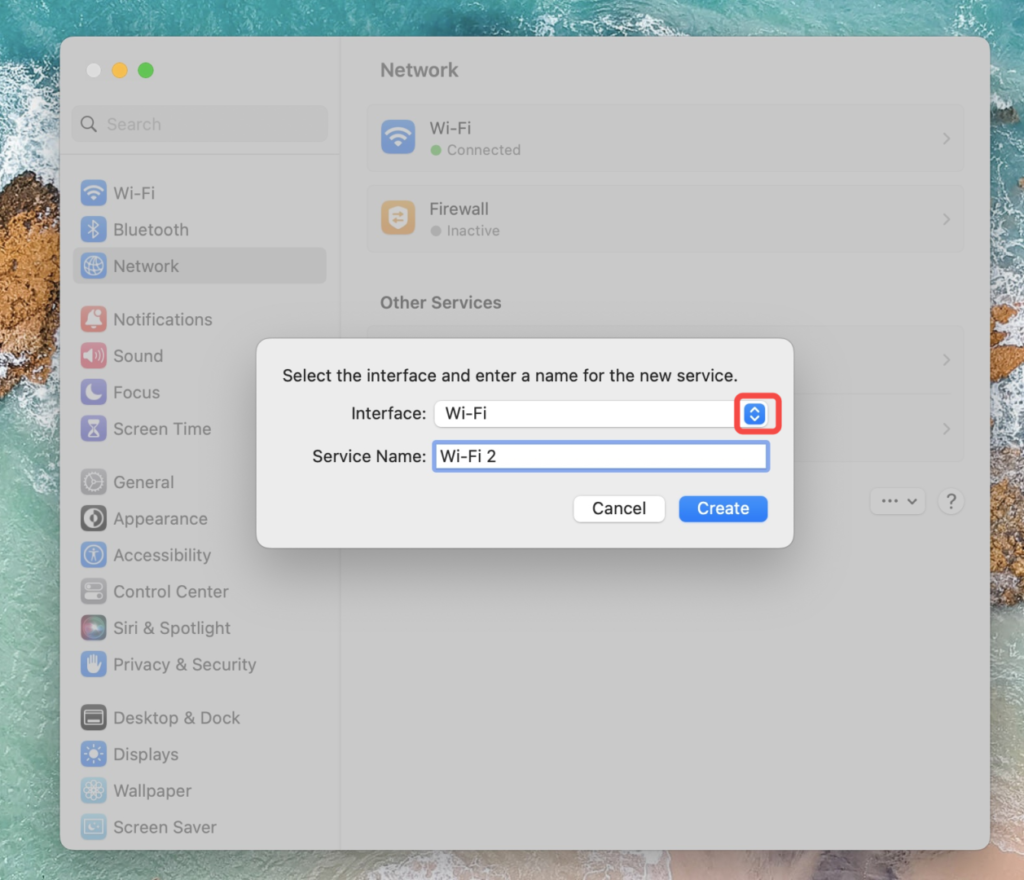
5. Click the blue button and choose “Wi-Fi”. Then type a proper Service Name, such as “Wi-Fi-2”, then click “Create”.
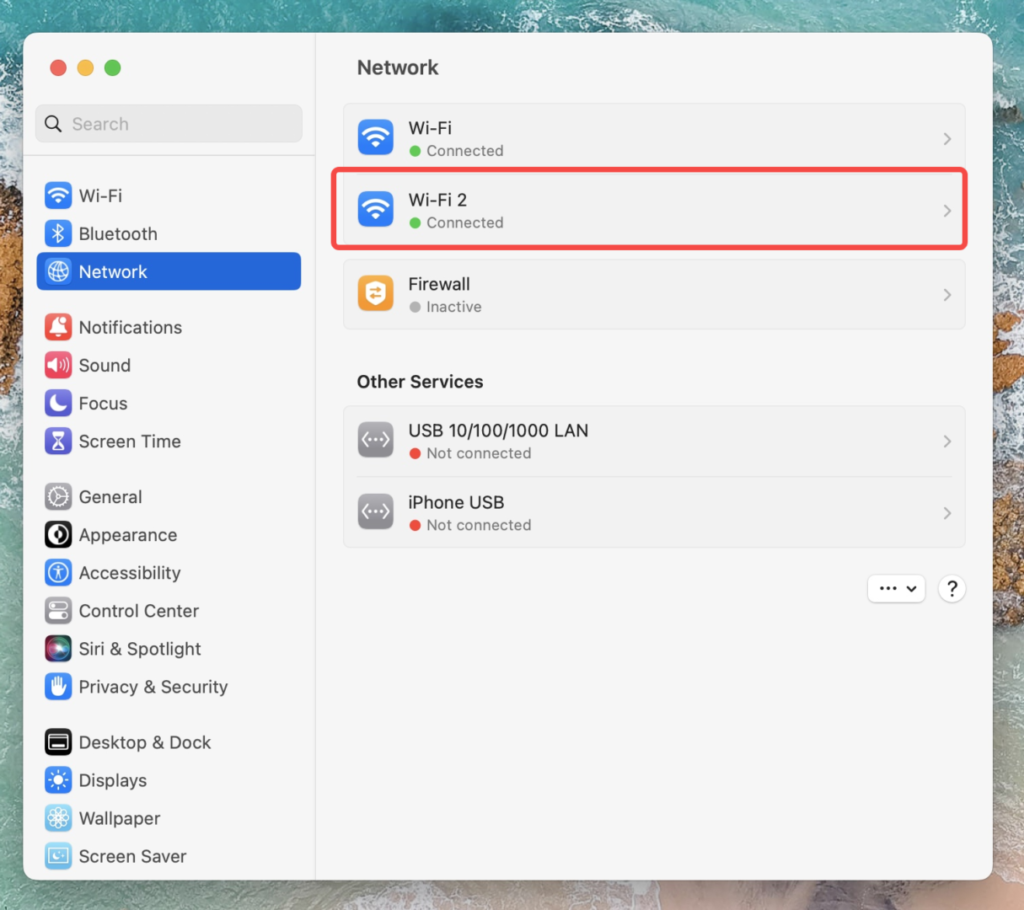
6. Click “Wi-Fi-2” which is created in the fifth step.
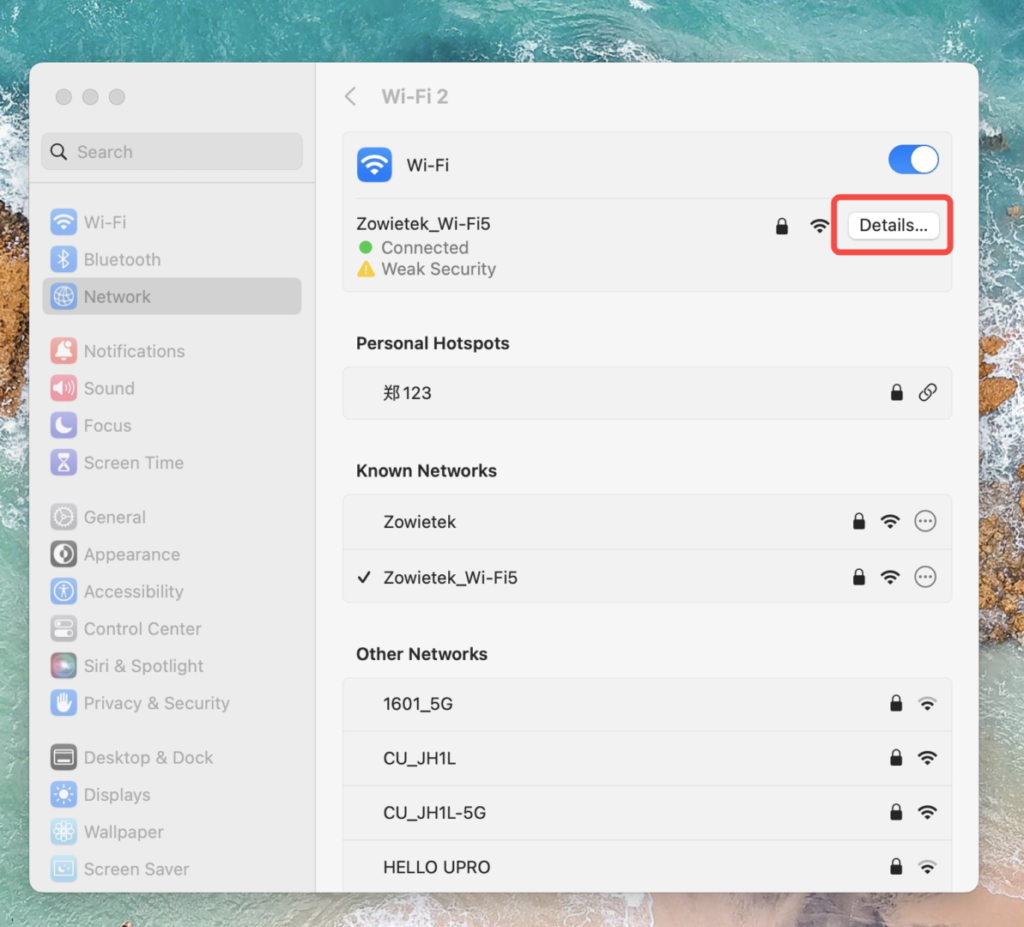
7. Click “Details”.
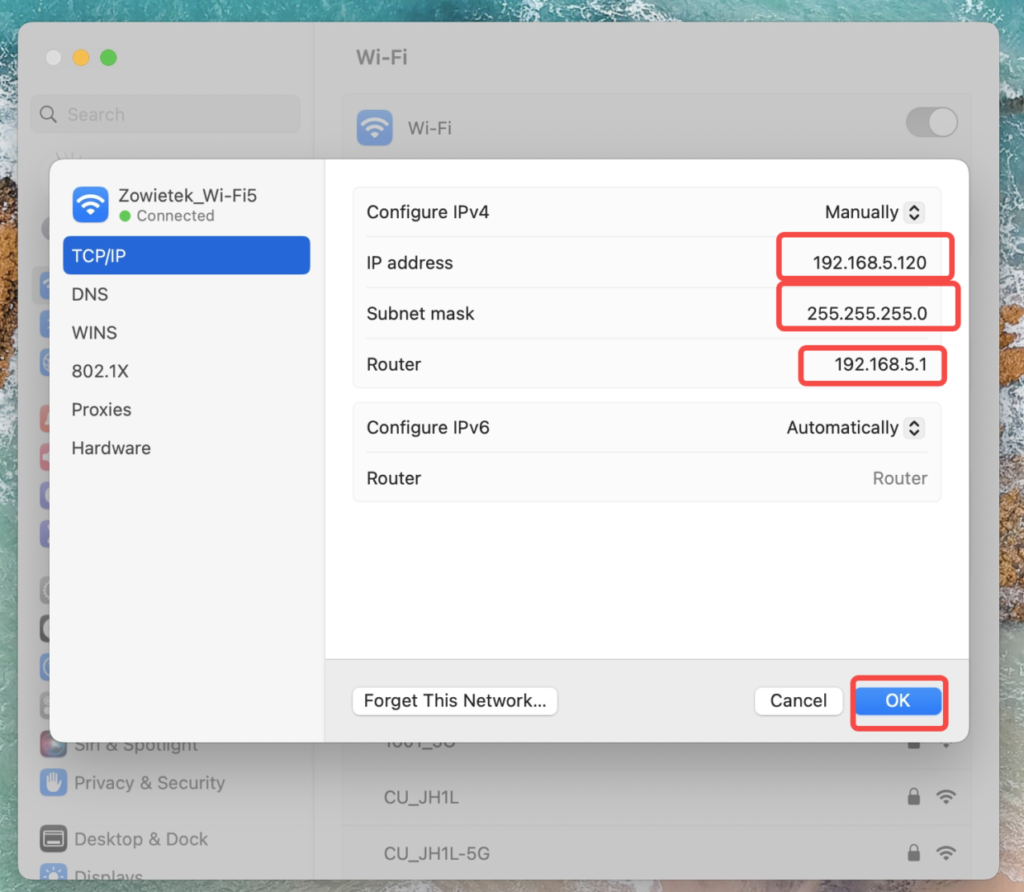
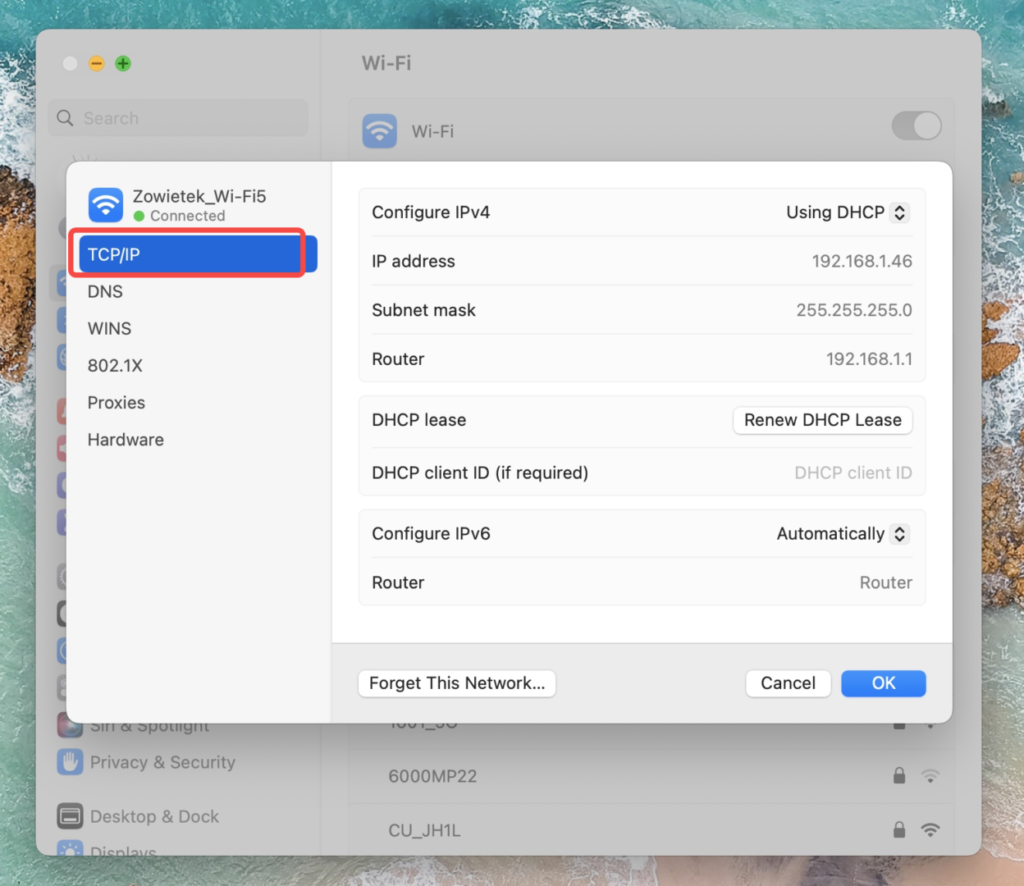
8. Click “TCP/IP”.
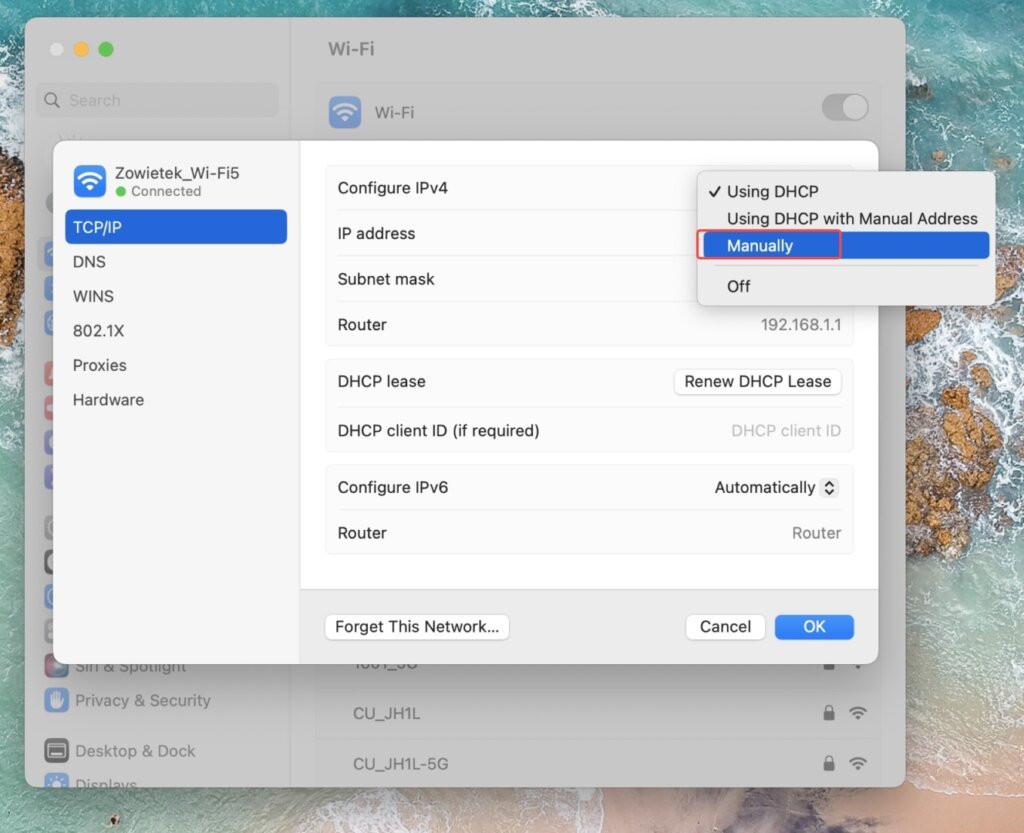
9. Choose “Manually”.
10. Change the “IP address” to 192.168.5.120 (IP Address 192.168.5.120 is used as an example, the last segment (120) could be different.)
Change the “Subnet mask” to 255.255.255.0
Change the “Router” to 192.168.5.1
Then click “OK”, and we will connect the Mac PC to the PTZ camera.